


After a crash, prioritize safety by assessing battery damage and avoiding contamination from water, salt, or other debris. Gather tools like wrenches, gloves, a voltage tester, and a compatible new battery. Consult the vehicle's manual or seek professional help for unclear components. Wear protective gear and carefully remove the old battery while catching leaks. Install the new battery securely, test its function by driving briefly, and consider consulting a collision repair center for comprehensive auto maintenance.
After a crash, replacing your vehicle’s battery is crucial for safety. This guide outlines essential steps to navigate this process effectively. Before beginning, assess the damage and prioritize your well-being by ensuring safety protocols. Gather the required tools and parts, including a new battery compatible with your make and model. Follow a step-by-step approach to avoid potential hazards, guaranteeing a secure replacement for optimal vehicle performance. Learn how to safely manage this task, especially post-crash, with our comprehensive battery replacement after crash instructions.
- Assess the Damage and Ensure Safety
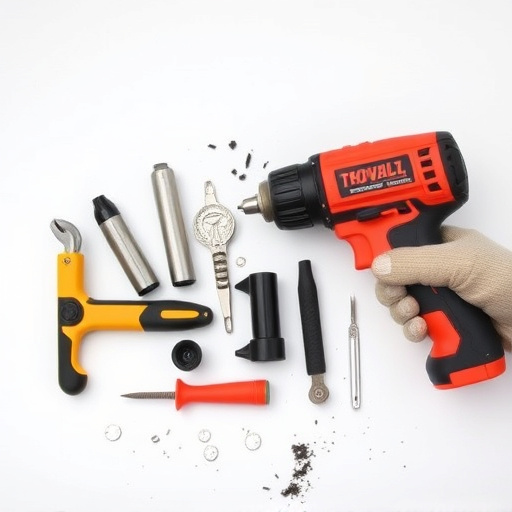
- Gather Necessary Tools and Parts
- Step-by-Step Guide to Battery Replacement
Assess the Damage and Ensure Safety

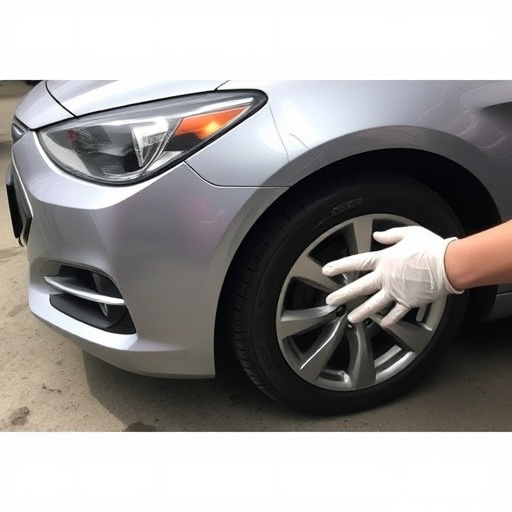
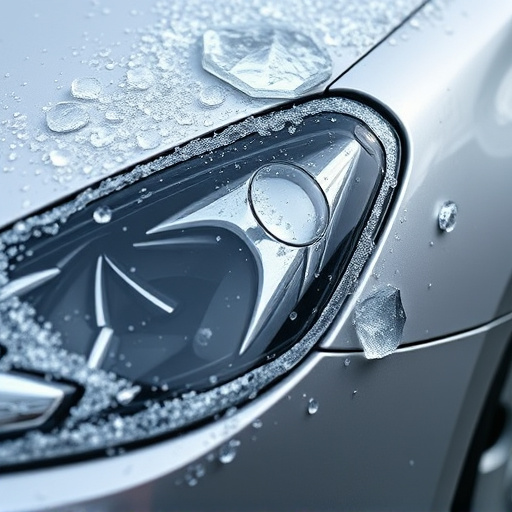
After a crash, assessing the damage to your vehicle is crucial before attempting any repairs, including battery replacement. Before you consider changing that old or damaged battery, make sure it’s safe to do so. Check for any visible signs of corrosion, leaks, or physical damage around the battery compartment. If the battery has been exposed to water, salt, or other contaminants, it could pose a safety risk and may not function properly. Additionally, ensure that you’re wearing protective gear, such as gloves, to avoid any potential harm from chemical spills or electrical shocks during the replacement process.
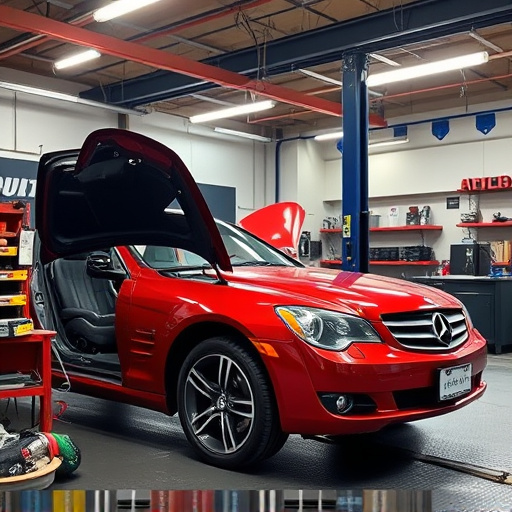
In light of this, if your car has suffered significant damage in a collision, it might be best to consult with a trusted collision repair center. They have the expertise and tools to properly assess and handle battery replacements as part of more comprehensive auto maintenance services. Remember, your safety is paramount when dealing with batteries, especially after a crash.
Gather Necessary Tools and Parts

Before beginning any battery replacement after a crash, ensure you have all the necessary tools and parts. This typically includes a new battery compatible with your vehicle make and model, wrenches or socket sets for removing and installing the old battery, protective gloves for safety, and possibly a voltage tester to confirm the new battery’s functionality. It’s also crucial to gather any required hardware for securing the new battery, such as bracket bolts or hold-down clamps. If you’re unsure about any component or tool needed for battery replacement after a crash, consult your vehicle’s owner manual or reach out to reputable auto repair services for guidance.
For a seamless process, consider having these parts and tools ready at hand when you’re ready to replace the battery. This includes a visit to a trusted vehicle body shop if necessary, especially if there’s any damage to the bumper or other components where the battery is located. Remember, proper auto repair services can ensure that your battery replacement after a crash is done safely and effectively, minimising further damage to your vehicle.
Step-by-Step Guide to Battery Replacement

After a crash, your vehicle’s battery might be damaged or unable to hold a charge. Before replacing it, ensure the car is turned off and parked in a safe location. Here’s a step-by-step guide for a safer replacement process.
1. Safety First: Put on protective gear like gloves and safety glasses. This prevents accidental cuts from battery acid and ensures your safety during handling. Remove any loose clothing or items that could potentially come into contact with the battery to avoid electrical hazards.
2. Locate and Identify: Find your vehicle’s battery, usually located in the engine bay. Verify its size and type before purchasing a replacement to ensure compatibility. Refer to your car’s manual for exact details if needed. In case of significant damage or corrosion, don’t attempt replacement yourself; seek professional auto body services or collision repair assistance.
3. Disconnect the Battery: Using the correct tool, start by removing the negative (-) battery cable first, followed by the positive (+) one. Place a container or cloth under the battery to catch any potential leaks.
4. Remove the Old Battery: Gently lift the old battery out of its tray. Dispose of it responsibly at an authorized recycling center, as it contains hazardous materials.
5. Install the New Battery: Position the new battery in the tray and secure it with brackets or holders. Connect the positive cable first, followed by the negative one. Ensure all connections are tight to avoid future issues.
6. Test and Charge: After replacement, start your vehicle to ensure the new battery is functioning properly. Drive for a short while to allow the alternator to fully charge the battery.
After a vehicle crash, safely replacing the battery is crucial for ensuring your car starts reliably. By following these steps, including assessing damage, gathering the right tools and parts, and performing a meticulous replacement process, you can rest easy knowing your vehicle’s electrical system is in capable hands. Remember, a well-executed battery replacement can prevent further issues and get you back on the road faster.